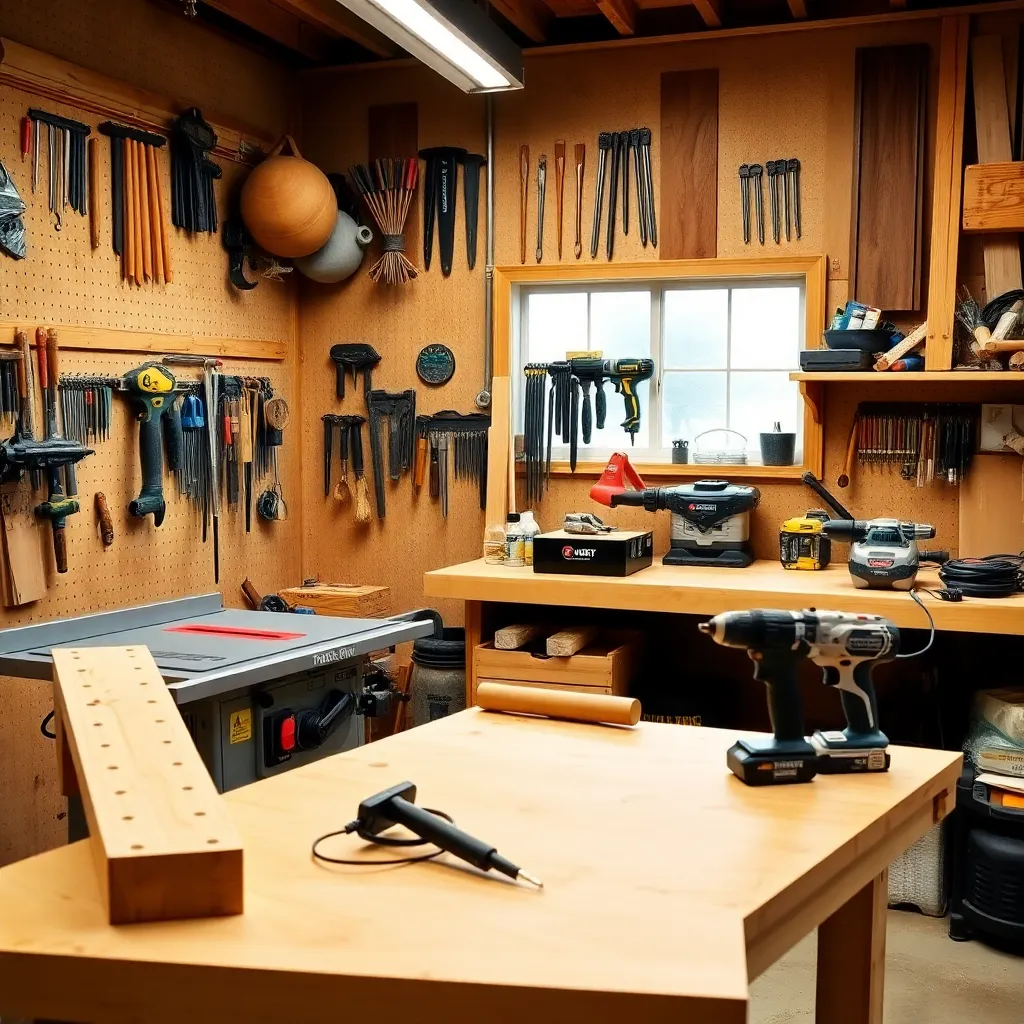
Woodworking tools divide into two categories that work together: the tools that remove material (saws, chisels, planes, routers) and the tools that hold material (clamps, jigs, vises). Knowing which tool belongs in each category, what it does best, and when to use it — that is the foundation of efficient, accurate woodworking. This guide covers every major tool category in the shop, from basic hand tools to power equipment, organized by function so you can build a tool collection that matches your work.
Ted’s Woodworking has 16,000+ plans with complete tool lists and specifications for every project. Browse Ted’s plans
Woodworking Tools Basics
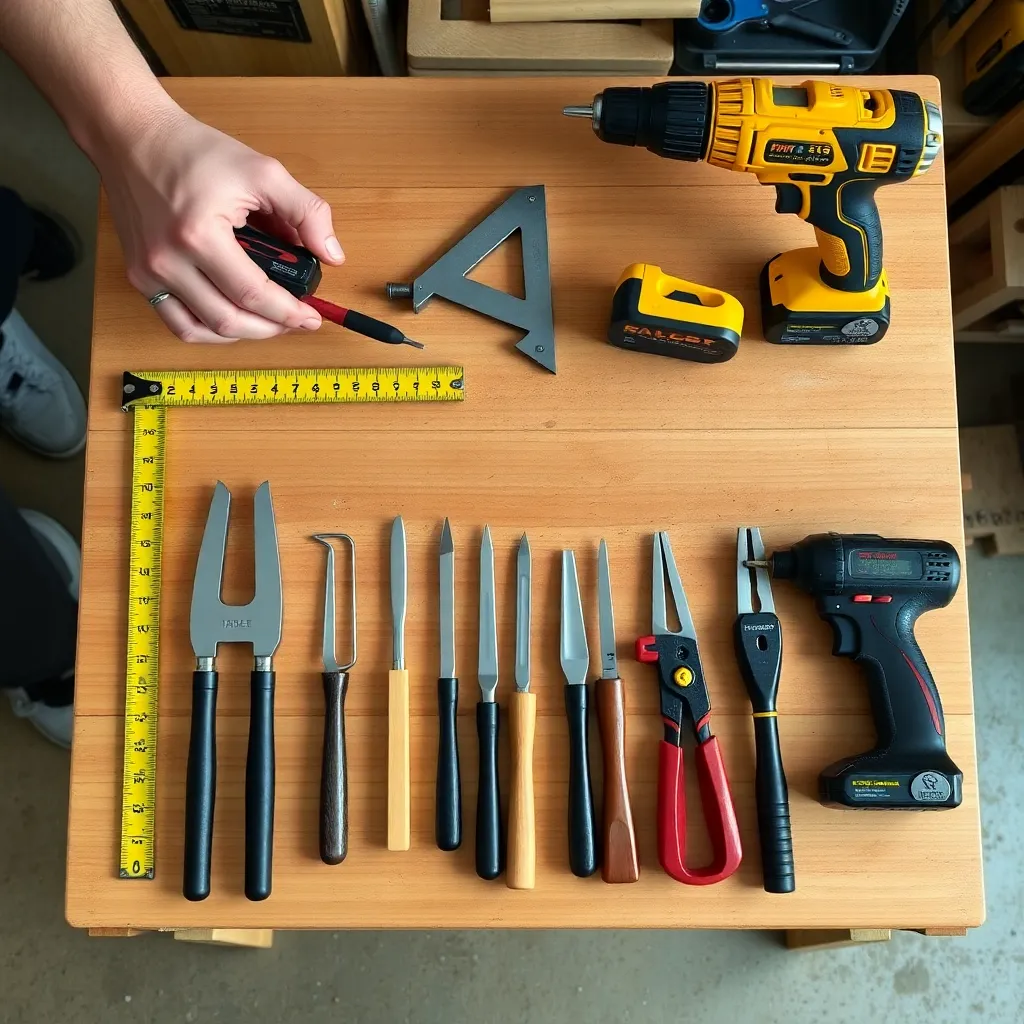
Every woodworker starts with the same foundational questions: what tools do I actually need, in what order should I buy them, and what can I do without? This hub covers the essential tool list for getting started in woodworking, plus how the tool categories build on each other as skills and project ambitions grow.
What’s covered: the starter tool list (measuring and marking, hand saws, chisels, a drill, and clamps); how to prioritize tool purchases by what your projects actually require; the difference between hand tools and power tools and when each is the right choice; tool quality vs cost at different skill levels; and the tools that are consistently overrated vs underrated for beginners.
Key principle: buy tools for the project in front of you, not for hypothetical future projects. A woodworker who owns 5 quality tools and knows them well builds better work than one who owns 50 tools and knows none of them. Start with what you need now; add tools as specific projects require them.
Power Tools and Saws
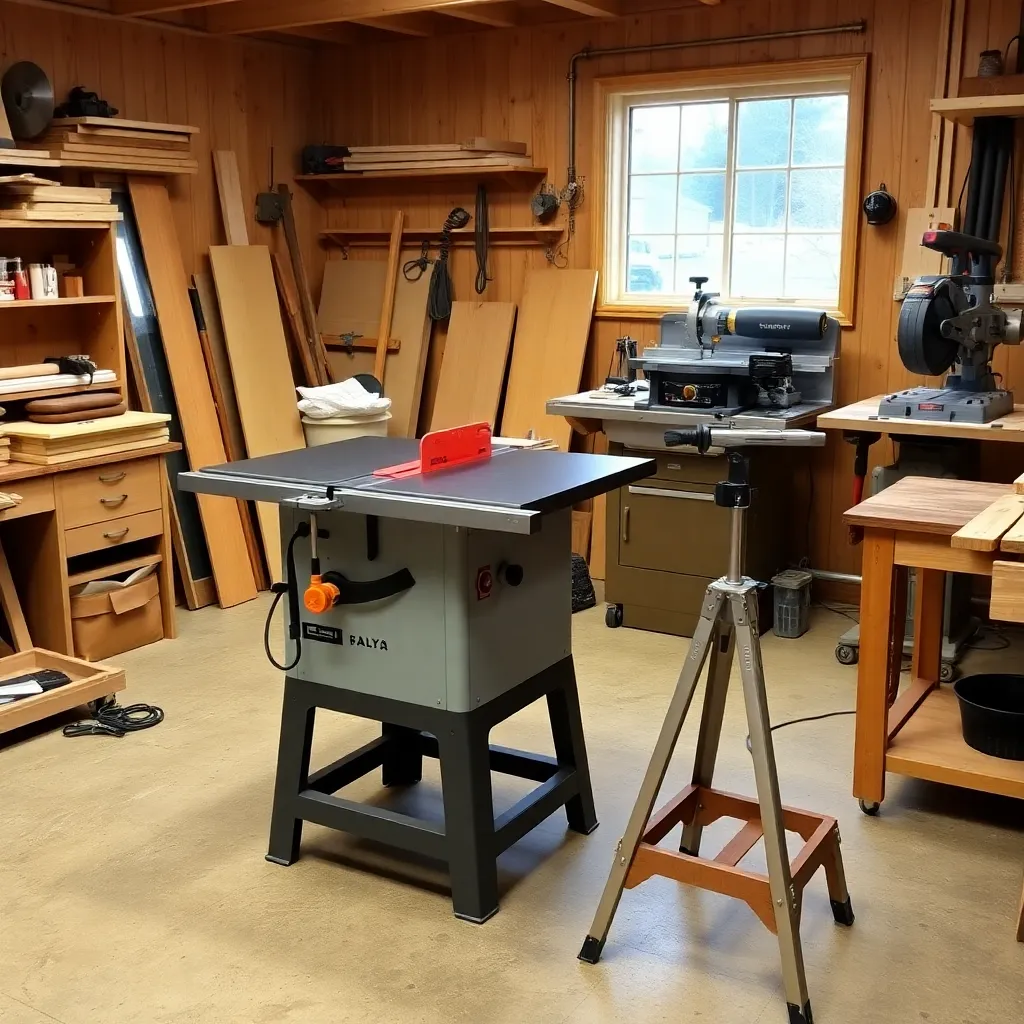
Power saws are the workhorses of the shop, doing the bulk material removal that hand tools and routers refine. This hub covers the major power saws (table saw, miter saw, bandsaw, circular saw) and what each does best, so you can prioritize which to own and in what order.
What’s covered: table saw setup and use (ripping, crosscutting, dado cuts); miter saw technique for accurate angle and crosscuts; bandsaw capabilities (resawing, curves, thick stock); circular saw for sheet goods and on-site work; blade selection for each saw type; safety practices for each tool.
Key principle: the table saw is the most versatile power tool in the shop and the one to own first if budget allows only one machine. It rips, crosscuts (with a sled), cuts dadoes and rabbets, and handles sheet goods. Every other saw expands capability in a specific direction; the table saw covers the broadest range.
Hand Tools Woodworking

Hand tools are what power tools cannot do: they fit joints to precise tolerance, pare the last fraction of an inch from a tenon shoulder, cope a molding profile to fit an inside corner, and work without noise or dust. Professional woodworkers reach for hand tools dozens of times per project.
What’s covered: the essential hand tool kit (awl, chisels, hand planes, hand saws, marking tools, clamps); awl definition and how to use it for starting screw holes and marking locations; clamping technique for glue-ups (clamp types, dry fit first, checking square by diagonal measurement); coping saw use for inside corner molding joints and scrollwork.
Key principle: three hand tools earn their place in every shop: a set of bench chisels (for paring joints), a block plane (for trimming end grain and fitting parts), and an awl (for precise hole starting and hardware layout). These three handle the precision fitting that power tools cannot do.
Cordless Drill Guide
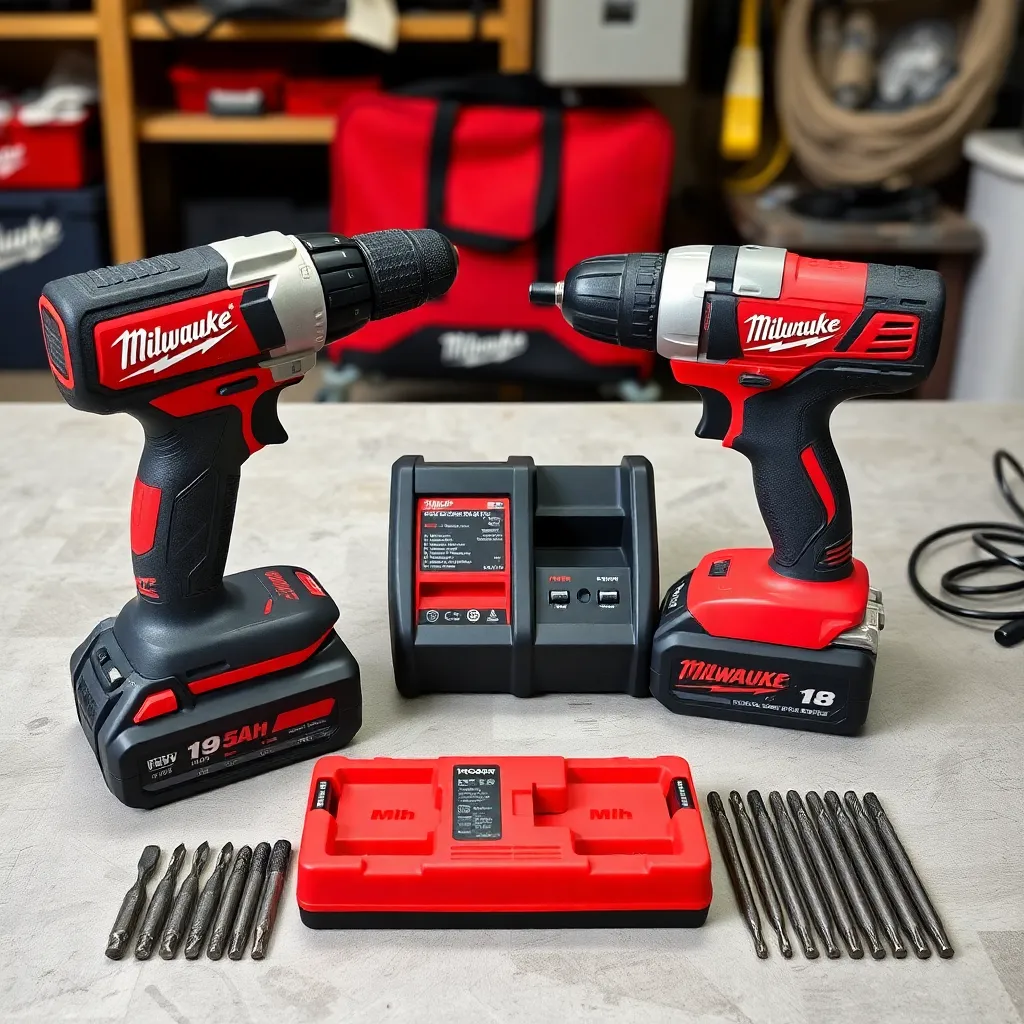
The cordless drill is the most-used power tool in the shop. But “cordless drill” covers two fundamentally different tools: the drill/driver (smooth, clutch-controlled torque for precise hole boring and small screw driving) and the impact driver (pulsed, high-torque bursts for long screws and structural fasteners). Knowing which is which determines which to reach for.
What’s covered: impact driver vs drill/driver mechanism and what each does best; drill/driver vs impact driver complete comparison (performance by task, physical differences, buying guidance); clutch settings and when to use them; bit selection for wood; pilot hole sizing; battery platform selection; recommended brands.
Key principle: own both a drill/driver and an impact driver on the same battery platform. A combo kit costs 20-30% less than buying separately and covers every fastening and boring task, the drill for hole boring and precision depth control, the impact driver for long screws, lag bolts, and repetitive driving.
Router and Table Guide
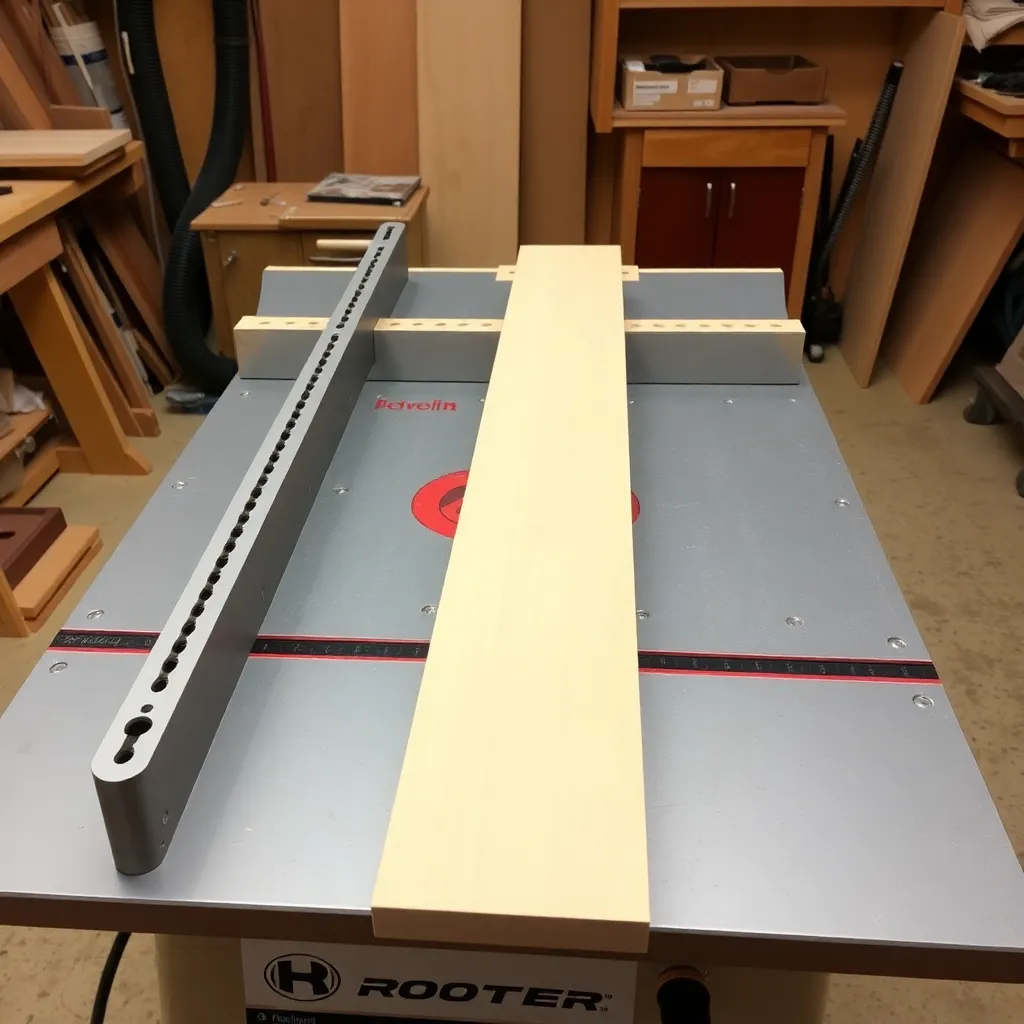
The wood router is the most versatile tool in the shop after the table saw. Handheld, it profiles edges, cuts dadoes, trims laminates, and follows templates. In a router table, it becomes a stationary tool for raised panel doors, cope-and-stick joinery, and consistent edge profiles on narrow stock.
What’s covered: router table setup (benchtop vs freestanding, router lift, fence alignment, featherboards); common router table operations (edge profiling, raised panels, cope-and-stick joinery, dadoes, box joints); handheld router technique (feed direction, template routing); router bit guide (straight, spiral, roundover, chamfer, cove, Roman ogee, flush-trim, raised panel); safety and bit speed matching.
Key principle: feed direction is the most critical safety rule for router use. Always feed against the bit’s rotation, right to left at the router table fence. Feeding in the wrong direction creates a climb cut: the bit grabs and pulls the workpiece violently.
Woodworking Jigs
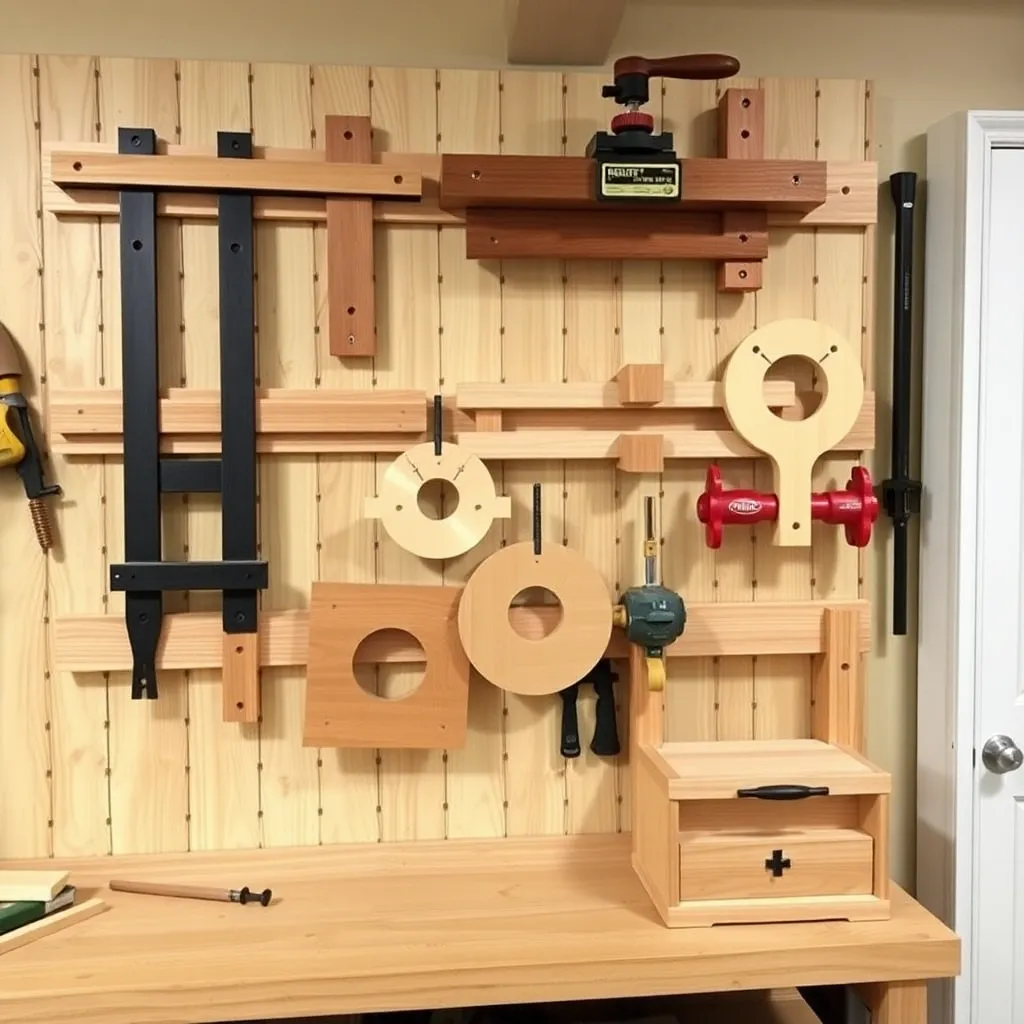
Jigs transform good woodworking into efficient woodworking. A jig holds position, guides a tool, or indexes repetitive cuts so every piece comes out identical without measuring and marking each one individually. The crosscut sled, pocket hole jig, circle jig, and box joint jig together cover the most common accuracy and repetition problems in shop work.
What’s covered: what a woodworking jig does (guides tools, holds workpieces, indexes repetitive cuts); when to build vs buy a jig; essential jigs (crosscut sled, Kreg pocket hole jig, featherboard, circle jig, box joint jig); step-by-step crosscut sled build; the 5-cut squaring method for calibrating a sled to 0.001″ accuracy; stop block systems for repetitive cuts.
Key principle: always test a jig on scrap before cutting actual workpieces. A jig produces consistent results, consistent right or consistent wrong. One test piece on scrap reveals any setup error before it propagates through an entire production run of parts.
Woodworking Tools FAQ
What tools do I need to start woodworking?
A minimum starter set: tape measure, combination square, marking gauge, pencil and marking knife, miter saw (or hand saw plus miter box), drill/driver, set of chisels (4 sizes), mallet, and 4-6 clamps. This covers measuring and marking, basic crosscutting, drilling and driving, fitting joints by hand, and assembling glued pieces. Cost: $300-600 for mid-quality tools. Add a table saw when budget allows, it is the most versatile machine and opens up the most project types.
Should I start with hand tools or power tools?
Both, they serve different purposes. Start with a drill/driver and a miter saw or circular saw for basic operations, plus a chisel set and marking tools for precision work. Experienced woodworkers use both constantly: power tools remove material efficiently, hand tools fit joints precisely. Neither replaces the other.
How much should I spend on woodworking tools?
Buy the best quality you can afford in the tools you use most. A table saw, miter saw, and router are used on almost every project, buy quality versions that will last decades. Chisels and hand planes should also be quality, cheap versions do not hold an edge. For clamps: buy mid-range in quantity rather than premium in small numbers. For accessories (drill bits, router bits, saw blades): buy quality carbide, cheap bits cost more through poor performance and frequent replacement.
In what order should I buy woodworking tools?
Recommended sequence: (1) drill/driver and impact driver combo kit, used on every project; (2) miter saw for accurate crosscuts; (3) table saw for ripping, sheet goods, and precision cuts; (4) router and router table for edge profiles and joinery; (5) bandsaw for curves and resawing; (6) planer and jointer for dimensioning rough lumber. Add hand tools as specific projects require them throughout this sequence.

“DIY woodworking enthusiast who started with zero experience and a YouTube tutorial.
I build simple, practical projects for my home and share free plans
so other beginners can skip the guesswork.If I can build it, you can too.”