Part of: Woodworking Tools Guide →
Hand tools are the foundation of woodworking skill. Power tools are faster, but hand tools teach the precision, feel for the material, and understanding of wood grain that make a woodworker competent rather than just productive. Every experienced woodworker uses hand tools daily — not as a nostalgic choice but because there are things hand tools do better than any power tool: fitting a joint to exact tolerance with a hand plane, scribing a hinge mortise with a chisel, coping a molding profile with a coping saw, marking a precise location with an awl. This guide covers the essential hand tools for woodworking.
Ted’s Woodworking has 16,000+ plans covering every tool technique from beginner to advanced. Browse Ted’s plans →
New to hand tools? Handle them correctly with our guide to using woodworking tools safely, and get the most from one of the most versatile with our guide to woodworking chisels.
Awl Definition
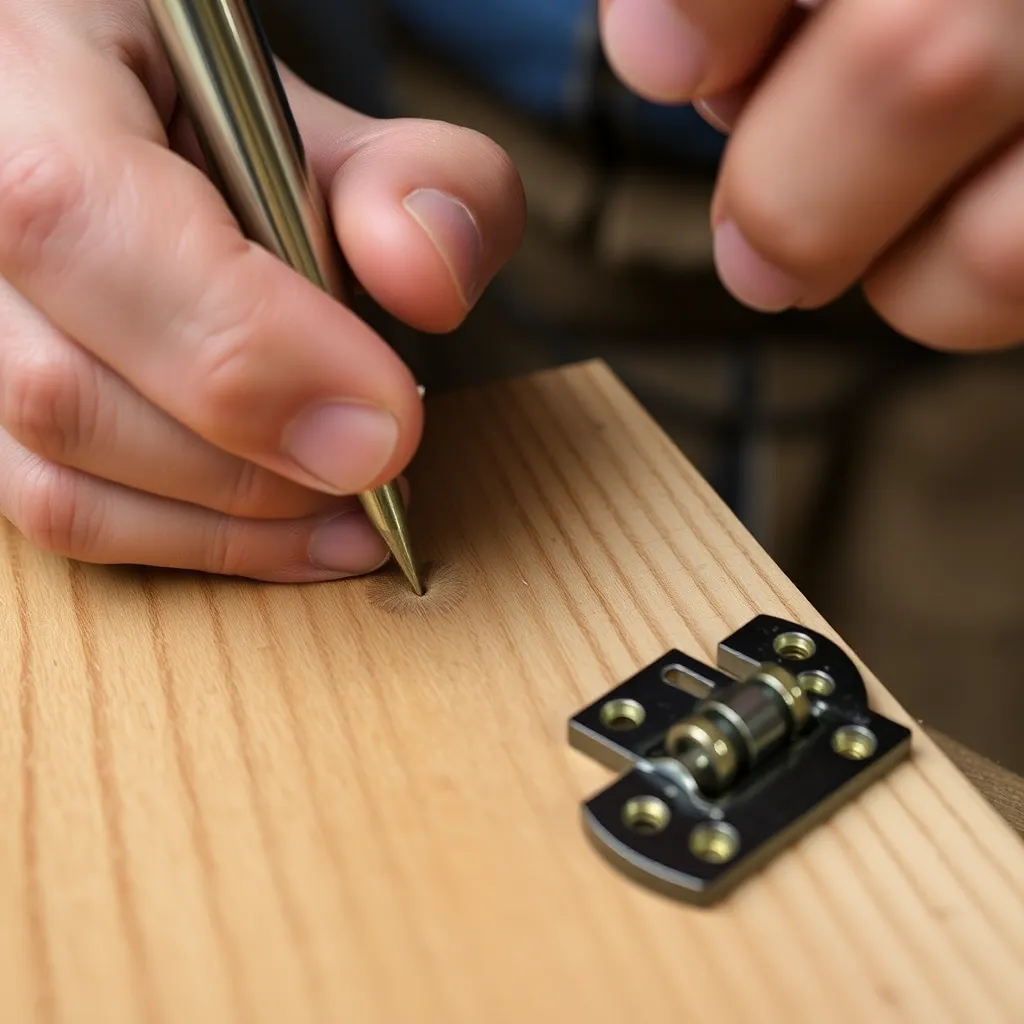
An awl is a pointed steel tool in a wooden handle — the simplest precision tool in the shop. Its primary job is creating a small starting indentation for screws and drill bits so they don’t wander from the marked location. A drill bit pressed against smooth wood skates until it bites; an awl-started dimple seats the bit tip before rotation begins. The awl also marks precise hardware locations (more accurately than a pencil), scribes layout lines, and starts brads in hard-to-reach places.
What’s covered: awl types (scratch awl, brad awl, marking awl) and what distinguishes each; the primary uses — starting screw holes, marking hardware locations, scribing layout lines, aligning holes in hardware; using an awl to prevent drill bit wander on smooth and angled surfaces (the most important use); sharpening a scratch awl on a whetstone and stropping; and storage to protect the point.
Key principle: the awl is a precision tool despite its simplicity. Place the point exactly on the mark — not approximately — before pressing in. The indentation created by the awl is where the screw or drill bit will go; any error in awl placement produces an error in the final hole location. Professional woodworkers and carpenters reach for an awl dozens of times per project.
Clamping
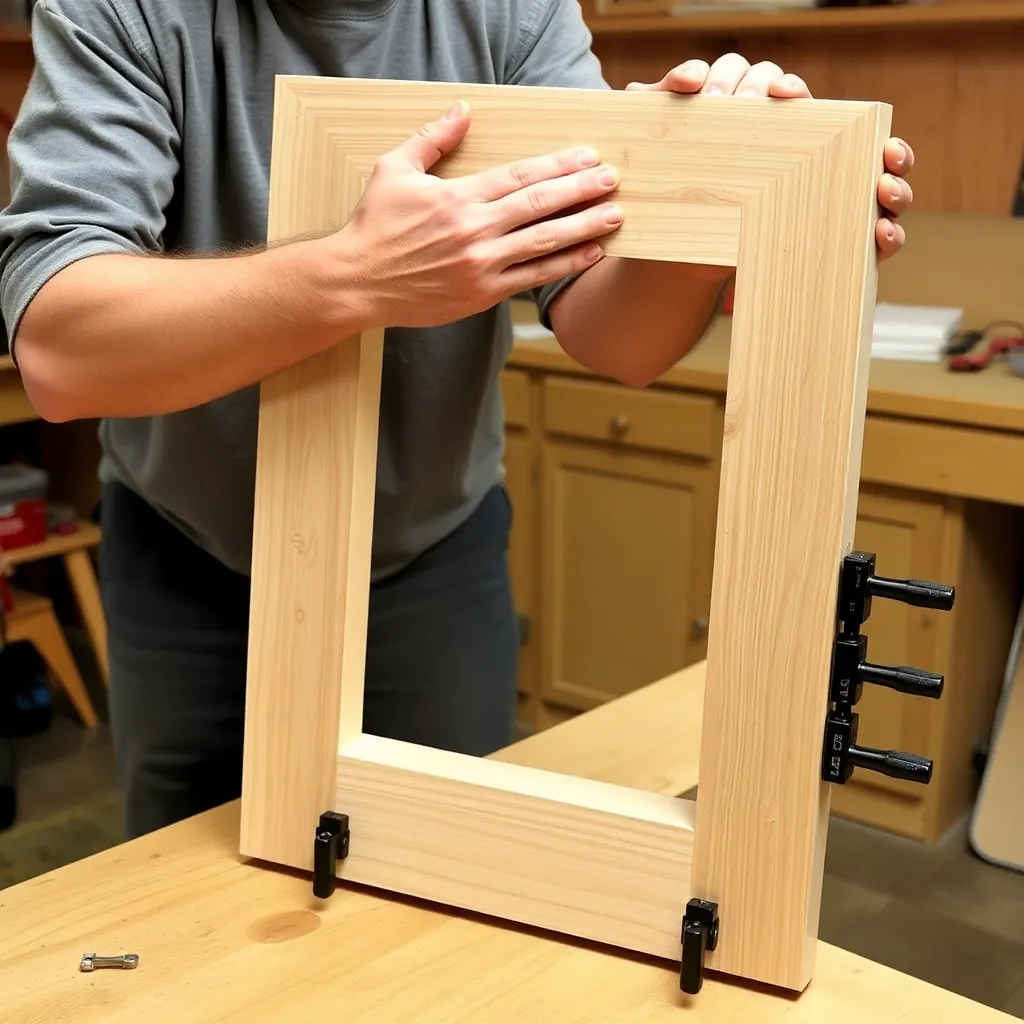
Clamping is everything that happens between applying glue and having a finished joint. The right clamps applied correctly keep joint surfaces in contact under even pressure while the glue cures, maintain alignment while pieces try to shift as glue lubricates the joint, and keep assemblies square through the full cure time. Wrong clamping — too little pressure, too few clamps, clamps racking the assembly — produces joints that look fine initially but fail or gap over time.
What’s covered: clamp types and their uses (bar clamps, pipe clamps, parallel jaw clamps, spring clamps, band clamps, pocket hole clamps); building a starter clamp set; preparing for a glue-up (dry fit first, caul preparation, clamp placement planning, working time awareness); clamping technique for edge-glued panels (alternating grain, even squeeze-out, checking for flat and twist with winding sticks); clamping boxes and cabinet assemblies (checking square by diagonal measurement, preventing glue creep).
Key principle: dry fit before every glue-up. Assemble the entire project without glue, apply clamps, and check: do all joints close completely? Is the assembly square? Do you have enough clamps? A problem found in the dry fit is trivial to fix; the same problem found after glue is applied is a crisis. Ten minutes of dry fitting prevents hours of fixing.
Coping Saw
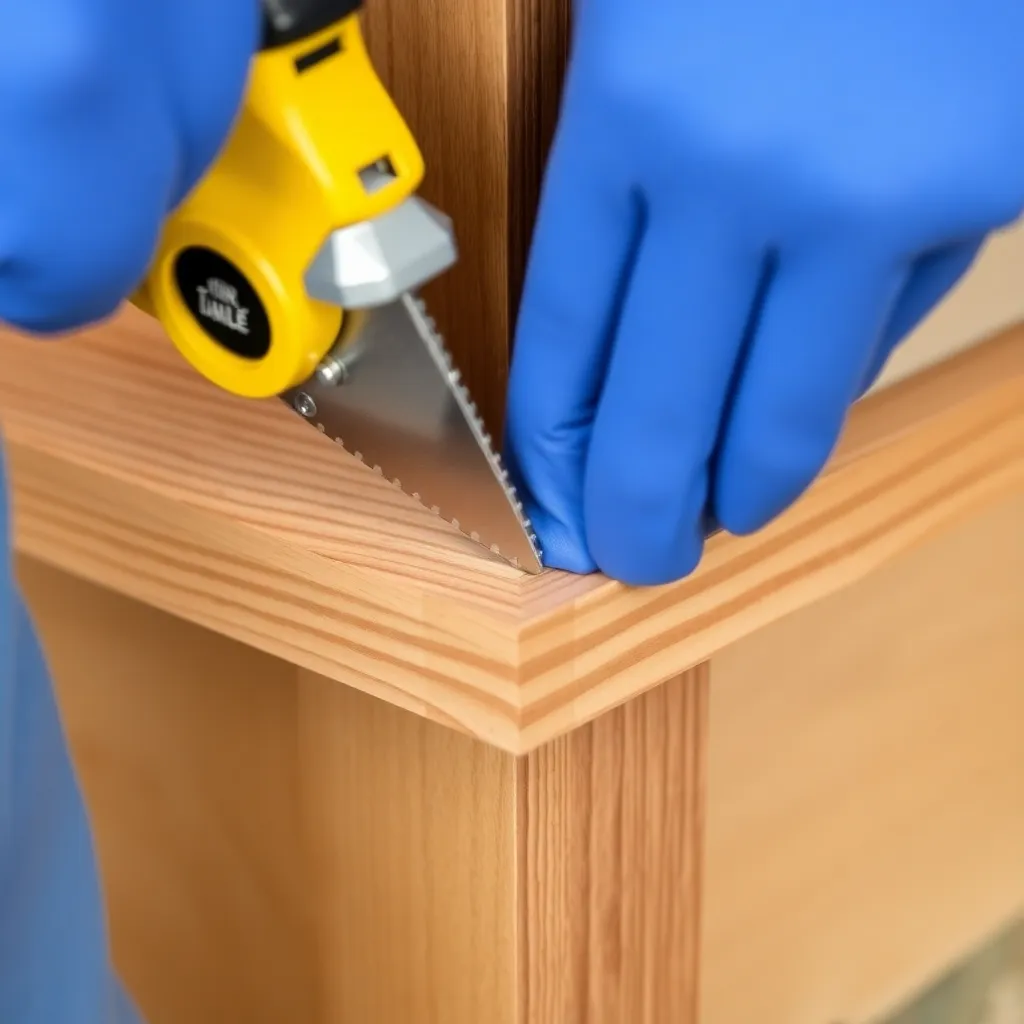
The coping saw is a C-frame hand saw with a thin, narrow blade that cuts curves and profiles. Its most important woodworking application is coping molding — cutting one piece of baseboard or casing to follow the profile of an adjacent piece at an inside corner. The coped joint slips over the face of the square-cut piece and stays tight through seasonal wood movement; mitered inside corners open up as the wood moves. Professional trim carpenters cope every inside corner of baseboard and crown.
What’s covered: coping saw anatomy (frame, blade, tension, blade rotation for direction changes); blade selection by TPI for molding vs scrollwork; the full coping process step by step (first piece square-cut into corner, 45-degree miter to reveal profile, coping saw following the profile with undercut, test fitting); cutting curves and internal shapes (drill entry hole, threading the blade, feeding technique); relief cuts for tight inside corners; blade maintenance and replacement.
Key principle: undercut the coping cut. Tilt the coping saw blade back 5-10 degrees from vertical so only the front face of the molding profile contacts the adjacent piece. An undercut means the joint closes tight at the visible front edge even if the cut isn’t perfect behind it; a perpendicular cut means any small error shows as a gap. Professional cabinetmakers always undercut coped joints.
Essential Hand Tool Skills
Measuring and marking:
All hand tool work starts with precise layout. A combination square (marks 90 and 45 degrees, scribes parallel lines), a marking gauge (scribes lines parallel to an edge at precise distance), a marking knife (severs wood fibers for precise joinery lines), and a straightedge (for checking flatness and guiding cuts) form the layout toolkit. Invest in quality measuring tools — a cheap combination square that’s not square introduces error into every layout.
Chisels:
A set of bench chisels (1/4″, 1/2″, 3/4″, 1″) handles mortise cleaning, hinge mortising, paring joints to fit, and general hand work. Keep them sharp — a dull chisel is dangerous because it requires force that causes it to slip and because it crushes rather than cuts wood fibers. Sharpen chisels on a waterstone set (1000-grit for shaping, 4000-grit and 8000-grit for polishing) and strop before each use. Quality chisels (Narex, Two Cherries, Ashley Iles) hold an edge well; cheap chisels go dull after a few uses.
Hand planes:
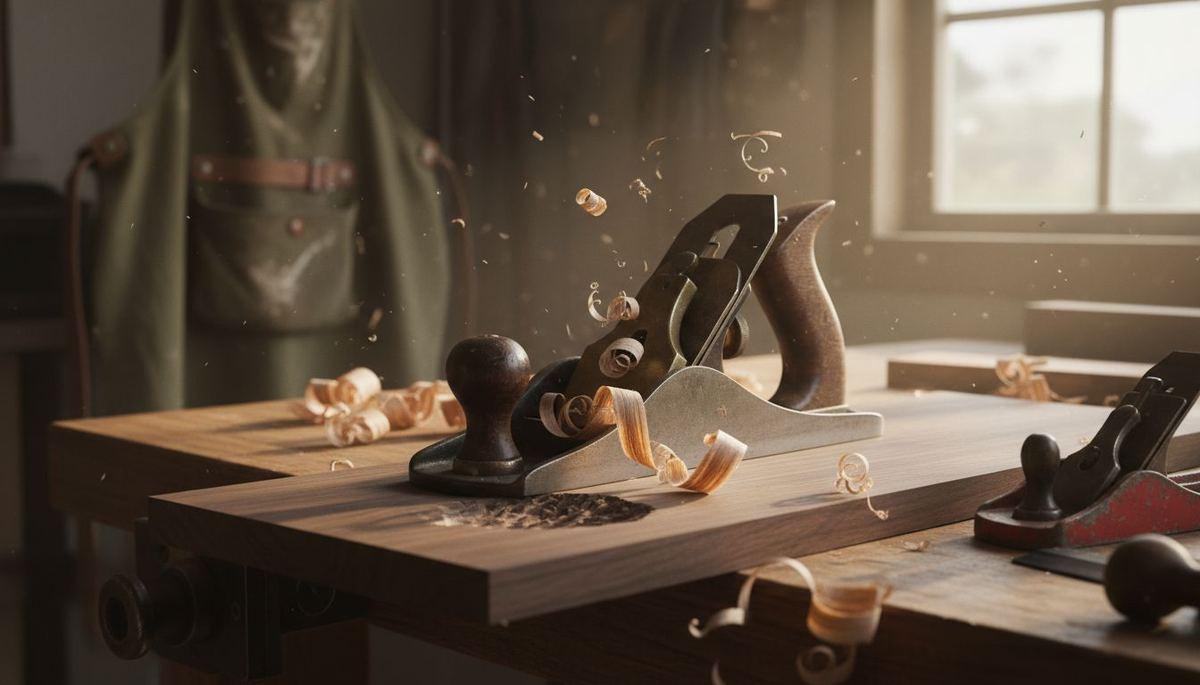
A block plane and a No. 4 smoothing plane cover the most frequent hand plane needs. The block plane trims end grain, chamfers edges, and fits joints by taking controlled shavings from one surface at a time. The smoothing plane prepares surfaces for finish — the result is smoother than 220-grit sandpaper and produces a sheen that shows wood figure beautifully. Both planes require sharp, properly set irons to work correctly. A dull or poorly set hand plane is frustrating; a sharp, well-tuned one is one of the most satisfying tools in the shop.
Hand saws:
A Japanese pull saw (cuts on the pull stroke, thin kerf) handles most hand-sawing needs: cutting tenon shoulders, crosscutting small pieces, flush-cutting dowels and plugs, and any cut where a power saw is overkill. A backsaw (stiffened spine, fine teeth) is the traditional tool for dovetails and tenon cheeks. A coping saw handles curves and profiles. Each saw is maintained by keeping the teeth sharp (replace disposable-blade Japanese saws when dull; have traditional saws professionally sharpened or learn to file the teeth).
Comparison of Hand Tools vs Power Tools for Woodworking
The fundamental difference between hand and power tools lies in how they deliver cutting force and how you control that force. Hand tools require you to generate momentum and guide the cut simultaneously. Power tools generate momentum automatically while you focus primarily on guidance.
This distinction creates significant practical differences in your woodworking experience:
| Aspect | Hand Tools | Power Tools |
|---|---|---|
| Control | Direct tactile feedback allows micro adjustments during cuts | Less sensory feedback, requires setup jigs for precision |
| Speed | Slower for initial cuts, faster for small batches with practice | Much faster for rough cutting and high volume work |
| Noise | Quiet operation suitable for apartments and shared spaces | Loud operation often requires hearing protection |
| Dust | Minimal shavings, easy cleanup | Significant dust requiring collection systems |
| Learning curve | Steeper initially, builds fundamental understanding | Easier to get started, harder to master nuance |
| Cost | Lower initial investment for quality tools | Higher costs for tools and accessories |
Hand tool woodworking provides superior tactile control and precision compared to power tools because you feel wood resistance instantly. When planing a board, you detect grain changes before they cause tearout. With a router, you often discover problems only after they occur.
Environmental and safety factors also differ substantially:
- Hand tools produce no electrical consumption or carbon footprint
- Reduced dust improves respiratory health in home workshops
- Lower noise prevents hearing damage and neighbor complaints
- Fewer kickback risks compared to table saws and routers
- No electrical shock hazards in damp conditions
One experienced craftsman explains the difference perfectly:
The hand plane whispers to you about the wood’s character. The power planer shouts over those subtle messages until it’s too late to respond.
Many beginners assume power tools are always more precise. This misconception stems from confusing repeatability with accuracy. Power tools excel at making identical cuts repeatedly when properly set up. Hand tools excel at making individually perfect cuts adjusted in real time to wood conditions.
For detailed finishing work, hand tools often produce superior results. A sharp hand plane leaves a surface requiring no sanding. A power planer typically leaves machine marks needing extensive sanding to remove. Understanding these tradeoffs helps you choose the right tool for each task.
Essential Hand Tools for Beginners and Their Uses
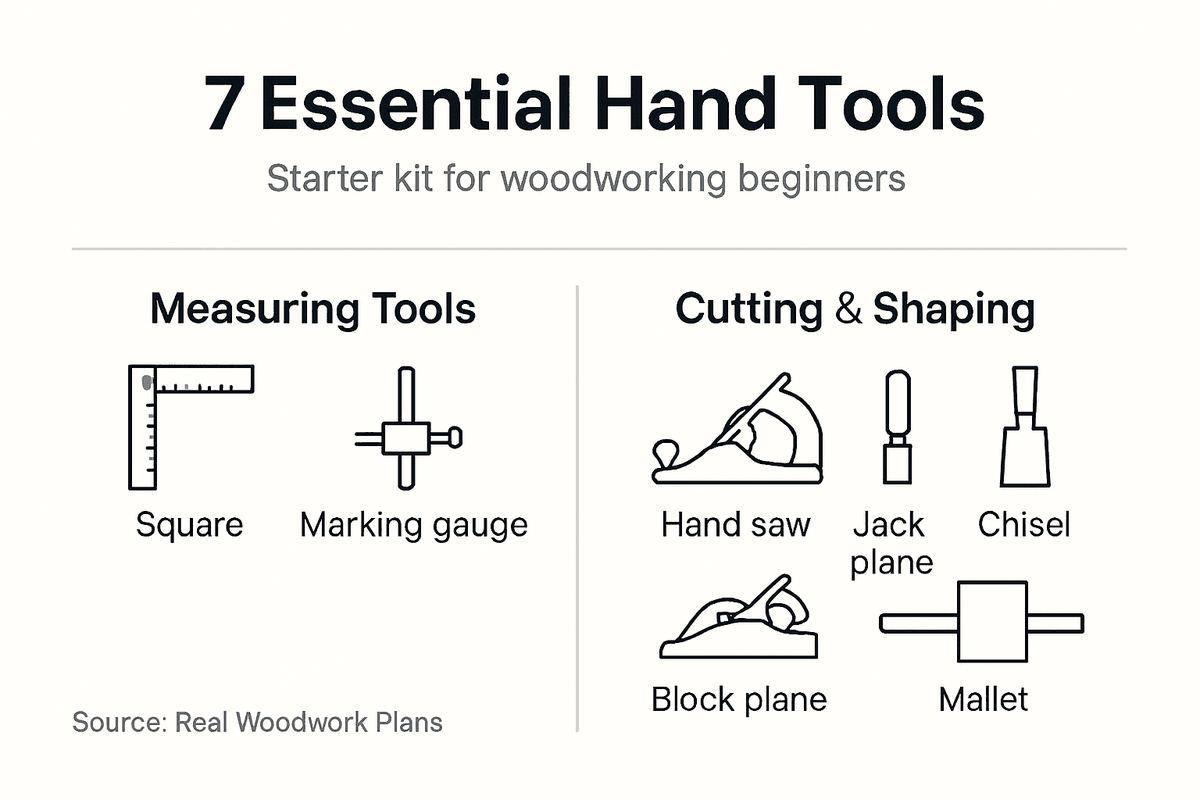
Starting hand tool woodworking doesn’t require a massive investment. Focus on seven to nine essential tools that handle most beginner projects effectively. These core tools let you measure, cut, shape, and smooth wood for boxes, shelves, and simple furniture.
Your essential starter kit should include:
- Combination Square: Marks 90 degree and 45 degree angles accurately, checks squareness of assemblies, and measures depths. Choose one with a 12 inch blade for versatility.
- Marking Gauge: Scribe lines parallel to edges for consistent joinery layout. A wheel style cuts cleaner across grain than pin styles.
- Hand Saw: A 20 to 22 inch crosscut saw with 10 to 12 points per inch handles most cutting tasks. Japanese pull saws offer thinner kerfs and easier control for beginners.
- Jack Plane: A number 5 plane (14 inches long) smooths boards and removes material efficiently. This single plane covers 80% of typical planing needs.
- Block Plane: A low angle block plane trims end grain and fits in tight spaces. Essential for chamfering edges and fine adjustments.
- Bench Chisels: A set of four chisels (1/4 inch, 1/2 inch, 3/4 inch, 1 inch widths) covers most chopping and paring tasks. Buy quality over quantity.
- Mallet: A wooden or dead blow mallet strikes chisels without damaging handles. Avoid metal hammers on chisel handles.
- Card Scraper: This simple rectangle of steel removes tool marks and prepares surfaces for finishing better than sandpaper alone.
- Sharpening Stones: Waterstones or diamond plates in coarse, medium, and fine grits keep edges razor sharp.
When buying starter tools, prioritize sharp cutting edges over fancy features. A $30 vintage Stanley plane properly tuned outperforms many $150 modern planes. Check beginner woodworking tips for detailed tool selection guidance.
Pro Tip: Buy your jack plane and hand saw first. These two tools alone let you dimension lumber and make accurate cuts for initial projects. Add other tools as specific project needs arise rather than buying everything at once.
Ergonomics matter more than most beginners realize. Heavy tools cause fatigue that leads to mistakes and injury. Test tool weight and grip comfort before purchasing. A plane that feels balanced in your hands produces better results than one causing wrist strain after five minutes.
Common Misconceptions About Hand Tool Woodworking
Several persistent myths discourage beginners from exploring hand tool methods. These misconceptions stem from limited experience and outdated assumptions. Examining evidence reveals a different reality.
Myth: Hand tool woodworking is always slower than using power tools.
Reality: For small projects and individual pieces, hand tools often match or beat power tool speed once you develop proficiency. Setting up a table saw, router, and dust collection takes 15 to 20 minutes. A hand plane is ready instantly. For cutting four table legs to length, hand sawing takes less total time than power tool setup and cleanup.
Power tools excel at high volume production. Hand tools excel at one off pieces and small batches. Speed depends entirely on context and skill level.
Myth: Hand tools cannot achieve the precision of power tools.
Reality: Hand tools provide finer control for precision work. Master furniture makers achieve tolerances under 0.005 inches using hand tools alone. A properly tuned hand plane produces surfaces flat within 0.002 inches across three foot spans. The key difference is that hand tool precision requires skill development, while power tool precision requires accurate setup.
One professional woodworker observes:
I can sneak up on a perfect fit with a hand plane in 30 seconds. The same adjustment on my jointer requires 10 minutes of fence and table tweaking.
Myth: Hand tool woodworking is outdated and inefficient for modern projects.
Reality: Hand tools remain the preferred choice for high end furniture making, instrument building, and restoration work in 2026. Many professional shops use hybrid workflows combining power tools for rough dimensioning and hand tools for precision fitting and finishing. Hand tools aren’t outdated; they’re specialized for tasks requiring maximum control.
Myth: You need exceptional strength to use hand tools effectively.
Reality: Proper technique matters far more than raw strength. Sharp tools and correct body mechanics allow anyone to work effectively. Many successful hand tool woodworkers are women and older adults who rely on skill rather than muscle. Poor technique makes even simple tasks exhausting. Good technique makes difficult tasks manageable.
Recognizing these myths helps you approach hand tool learning with realistic expectations and confidence.
Benefits of Using Hand Tools in Woodworking
Hand tools offer distinct advantages that make them ideal for home hobbyists and small workshop environments. These benefits extend beyond the finished project to improve your entire woodworking experience.
Quiet operation transforms your workshop environment. You can work early mornings or late evenings without disturbing family or neighbors. No hearing protection means you hear music, podcasts, or simply enjoy peaceful focus. This acoustic benefit proves especially valuable in apartments or shared living spaces where power tool noise causes friction.
Minimal dust production creates healthier working conditions. Hand planes produce shavings that fall directly to the floor rather than becoming airborne. No fine dust clouds mean reduced respiratory irritation and easier cleanup. Many hand tool woodworkers skip dust masks entirely except when sanding, improving comfort during long sessions.
Enhanced control and precision come from direct tactile feedback. You feel the tool’s interaction with wood grain instantly and adjust pressure, angle, or direction immediately. This sensory connection develops intuitive understanding of wood behavior that power tools simply cannot provide.
Skill development accelerates through hands on manual methods. Each cut teaches you about grain direction, wood hardness, and edge sharpness. This knowledge transfers to better power tool use if you later incorporate them. Many professional woodworkers credit hand tool experience with deepening their overall woodworking understanding.
Additional practical benefits include:
- Lower initial investment allows quality tools on modest budgets
- Compact tool storage fits small spaces easily
- No electricity required enables outdoor or remote work
- Reduced maintenance costs compared to power equipment
- Quieter workspace promotes better concentration
- Traditional methods connect you to woodworking history
Hand tools also pair perfectly with thoughtful wood selection in woodworking practices. When you work wood slowly, you notice figure, color variations, and grain patterns that deserve showcase placement. This awareness elevates project quality naturally.
For hobbyists following latest woodworking trends toward sustainability and mindful making, hand tools align perfectly with these values. They consume no electricity, generate minimal waste, and encourage deliberate craftsmanship over rushed production.
Hand Tools Woodworking FAQ
What hand tools do I need to start woodworking?
A practical starting hand tool kit: tape measure, combination square, marking gauge, pencil and marking knife, bench chisel set (4 chisels), mallet, Japanese pull saw, block plane, and an awl. Total cost: $150-250 for mid-quality tools. These handle: measuring and marking, hand-cutting joints, trimming fits, and basic assembly. Add a No. 4 smoothing plane when surface quality becomes important ($60-150 for a quality used or new plane). This kit builds the hand skills that make power tool work more precise and efficient.
Can you do woodworking with only hand tools?
Yes — entirely. Pre-industrial furniture was made entirely with hand tools, and much of that furniture is still in use centuries later. Hand-tool-only woodworking requires more skill and time but produces equivalent quality to power tool work and, for some operations (fitting dovetails, planing surfaces, paring joints), superior results. Many experienced woodworkers work exclusively with hand tools by choice — the experience is more connected, the shop is quieter, and the results reflect direct skill rather than tool capability. A hand-tool shop also costs far less than a power tool shop at the same quality level.
How do I keep hand tools sharp?
The sharpening system: a 1000-grit waterstone for shaping edges and removing nicks, a 4000-grit stone for refining the edge, and an 8000-grit stone for polishing. A leather strop charged with honing compound maintains the edge between full sharpenings. For chisels and plane irons: sharpen when the tool requires noticeably more force or starts leaving torn fibers instead of clean cuts — typically every 30-60 minutes of active use. Strop before every use session. The 5-minute investment in sharpening saves an hour of fighting with dull tools.
Are expensive hand tools worth the money?
For precision tools (chisels, hand planes, combination squares): yes. Quality chisels hold an edge significantly longer than budget chisels, reducing sharpening frequency and improving the cutting experience. Quality hand planes (Lie-Nielsen, Veritas, vintage Stanley) are factory-tuned and work out of the box; budget planes often require significant setup before they work correctly. Quality squares are calibrated accurately; cheap squares may not be square. For non-precision tools (hammers, mallets, clamps): mid-range quality is usually sufficient — buy premium where precision and edge retention matter.

“DIY woodworking enthusiast who started with zero experience and a YouTube tutorial.
I build simple, practical projects for my home and share free plans
so other beginners can skip the guesswork.If I can build it, you can too.”